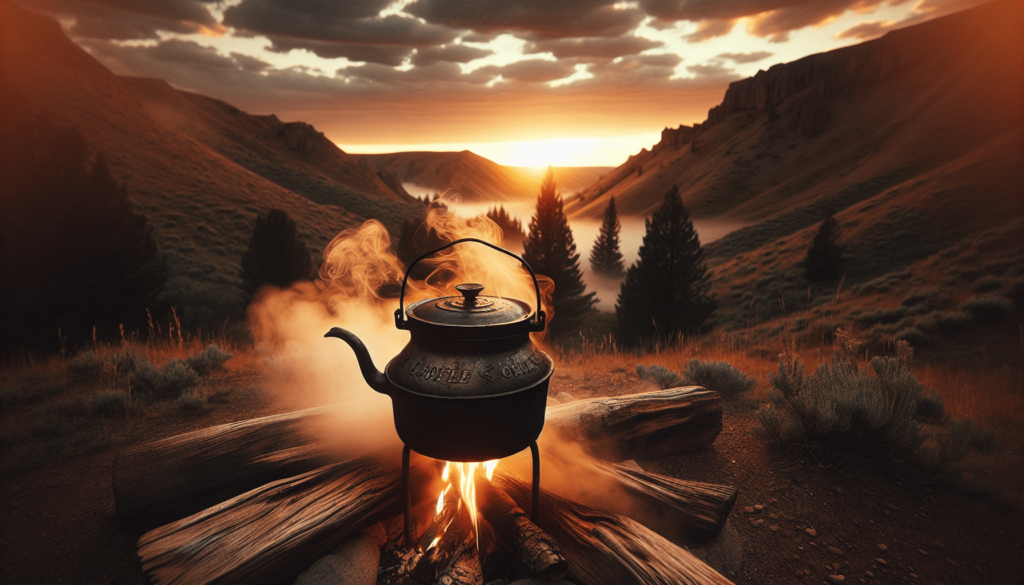
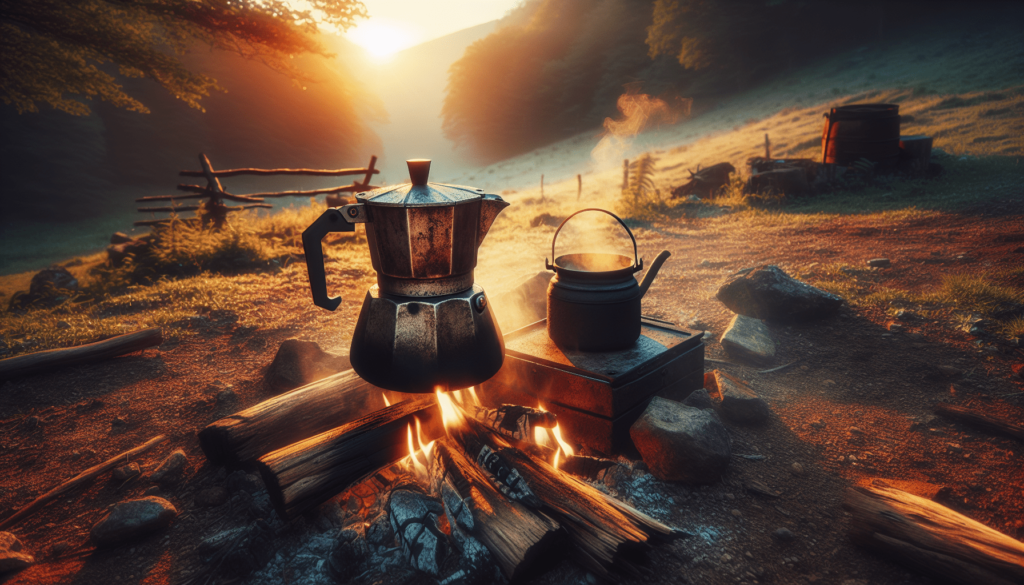
Have you ever wondered how cowboys cooked their coffee while out on the open range? Brewing coffee, cowboy style, isn’t just an interesting piece of history; it can also be a fun way for you to enjoy a rich and rustic cup of joe. Get ready to learn everything you need to know about this classic frontier method.

The Origins of Cowboy Coffee
Cowboy coffee has its roots in the American West during the 19th century. Cowboys, often found driving cattle across vast distances, needed a simple yet effective method to prepare their much-needed caffeine fix. With no modern coffee makers on hand, they had to rely on the tools and resources available to them.
Why Coffee was Essential for Cowboys
Coffee was more than just a morning pick-me-up for cowboys; it was a critical part of their daily routine. Long hours, exhausting physical labor, and chilly early mornings made coffee a necessity for these rugged individuals. Coffee provided not only a stimulant to help them stay alert but also a comforting ritual amidst their challenging lifestyle.
The Equipment
Cowboys had to make do with what they could carry. Despite their minimalist approach, they managed to brew a flavorful cup with just a few essential items. Here’s what you’ll need if you want to try brewing coffee, cowboy style.
The Coffee Pot
A sturdy metal coffee pot was essential. Often made of tin or enamel, these pots could withstand the rigors of travel and open-fire cooking. The pot had to be durable enough to be tossed into a saddlebag and hold up to the varying elements of the open range.
Key Features:
| Feature | Description |
|---|---|
| Material | Tin, enamel, or stainless steel |
| Size | Typically 8-12 cups |
| Design | Simple with a spout and a handle |
| Durability | Able to withstand open-fire heat |
Coffee Grounds
Pre-ground coffee was the norm, as carrying a grinder wasn’t practical on the trail. Cowboys usually opted for a medium to coarse grind, which worked well for boiling and settling methods.
Recommended Grind Size:
| Grind Type | Description |
|---|---|
| Coarse | Resembles sea salt; best for cowboy coffee |
| Medium-coarse | Slightly finer; still acceptable for cowboy style |
The Fire Setup
You’d need an open flame to replicate the cowboy coffee experience. Campfires were the typical heat source, providing the direct heat required for boiling water swiftly.
Fire Preparation Essentials:
| Item | Description |
|---|---|
| Firewood | Dry, seasoned wood for steady burning |
| Matches or Flint | Tools for starting the fire |
| Fire Ring or Pit | Containment area for safe fire management |
The Brewing Process
Brewing cowboy coffee is a straightforward but precise process. The aim is to get the water boiling hot, then let chemistry and physics work their magic. Let’s break down each step.
Step 1: Building the Fire
To start, you’ll need to build a robust campfire. Create a steady, concentrated flame that can bring water to a rolling boil. If you don’t have experience building campfires, practice in a safe, controlled environment before heading out.
Step 2: Adding Water
Fill your coffee pot with fresh, cold water. The amount of water will depend on how many servings you need. For reference, a standard coffee cup holds about 6-8 ounces.
Water Measurement Guide:
| Number of Servings | Amount of Water |
|---|---|
| 1-2 cups | 2 cups (16 ounces) |
| 3-4 cups | 4 cups (32 ounces) |
| 5-6 cups | 6 cups (48 ounces) |
Step 3: Heating the Water
Place the coffee pot on the campfire, ensuring it’s stable. Heat the water until it reaches a rolling boil. This usually takes around 5-10 minutes, depending on your fire’s intensity.
Step 4: Adding Coffee Grounds
Once the water reaches a boil, remove the pot from the direct flame. Carefully add your coffee grounds to the boiling water. A good rule of thumb is to use about two tablespoons of coffee per 8-ounce cup of water.
Coffee Grounds Measurement:
| Number of Cups | Amount of Coffee Grounds |
|---|---|
| 2 cups | 4 tablespoons (¼ cup) |
| 4 cups | 8 tablespoons (½ cup) |
| 6 cups | 12 tablespoons (¾ cup) |
Step 5: Brewing Time
After you’ve added the coffee grounds, stir the mixture thoroughly. Allow it to sit off the fire, steeping, for about 4-5 minutes. This steeping process is crucial for extracting the flavors from the coffee grounds.
Step 6: Settling the Grounds
To settle the coffee grounds at the bottom of the pot, there are a couple of traditional methods you can use:
- Cold Water Trick: Add a small splash of cold water to the pot. The cold water helps the grounds sink to the bottom more quickly.
- Tapping: Gently tap the side of the pot to encourage the grounds to settle.
Step 7: Pour and Enjoy
Once the grounds have settled, carefully pour the coffee into your cup. Avoid pouring the last bit of coffee from the pot, as it may contain more grounds. Savor the rich, robust flavors that tell the story of the Old West.
Cowboy Coffee Tips and Tricks
Choosing the Right Coffee
The type of coffee you choose can significantly impact the final flavor. Opt for a blend that’s robust and hearty—something that can hold up against the strong brewing method.
Avoiding Bitter Coffee
One common issue with cowboy coffee is bitterness. To mitigate this, ensure you don’t over-boil the water, which can scorch the coffee grounds. Additionally, avoid over-steeping by sticking to the 4-5 minute guideline.
Enhancing Flavor
Some cowboys added a pinch of salt or even crushed eggshells to their coffee grounds to cut down on bitterness and enhance flavor. Adding spices such as cinnamon or even a little butter can provide a unique twist.

Troubleshooting Common Problems
Coffee Grounds in Your Cup
If you find grounds in your coffee, it may be due to one of two reasons: either you didn’t let the grounds settle long enough, or your pour was too hasty. Give the coffee a bit more time to settle and pour slowly and steadily.
Weak Coffee Flavor
If your coffee turns out too weak, you could be using too little coffee grounds or not allowing enough steeping time. Adjust your coffee-to-water ratio and ensure you let it steep for at least 4-5 minutes.
Overly Bitter Coffee
To prevent a bitter brew, make sure the water isn’t boiling when you add the grounds and don’t let the coffee steep for too long. Quick adjustments in these areas can go a long way.
The Cowboy Coffee Experience Today
Cowboy coffee may have originated out of necessity, but it remains a beloved brewing method for many. It offers a straightforward way to make coffee while camping, hiking, or even during a backyard bonfire.
Modern Adaptations
While the essence of cowboy coffee remains unchanged, you can make small adaptations to suit modern tastes. For example, using a mesh strainer can help filter out more grounds, or experimenting with gourmet beans can offer an elevated experience.
Health Considerations
Just like any coffee, cowboy coffee should be consumed in moderation. Excessive coffee consumption can lead to issues like insomnia or increased heart rate. Be mindful of your intake and enjoy this rustic brew as part of a balanced lifestyle.
Coffee Consumption Guidelines:
| Coffee Type | Recommended Daily Limit |
|---|---|
| Standard Brew | Up to 4 cups (400 mg of caffeine) |
| Cowboy Coffee | Similar to standard due to strong brew |
Sharing the Tradition
Brewing cowboy coffee can be a memorable social activity. Invite friends or family around the campfire, share stories, and enjoy a cup of this old-fashioned brew together. It’s an excellent way to connect and appreciate a simpler time.
Conclusion
Brewing coffee, cowboy style, offers a connection to the rugged history of the American West. With just a few basic tools and some attention to detail, you can enjoy a rich, flavorful cup of coffee that takes you back in time. Whether you’re out camping, having a bonfire in your backyard, or simply wanting to try something new, cowboy coffee can be a delightful experience. Give it a try and taste the tradition for yourself!
