How often do you think about cleaning your Keurig? It’s one of those tasks that might slip your mind amidst your daily routine. However, if you want your coffee to taste fresh and your machine to last longer, regular cleaning is essential.
Understanding Your Keurig
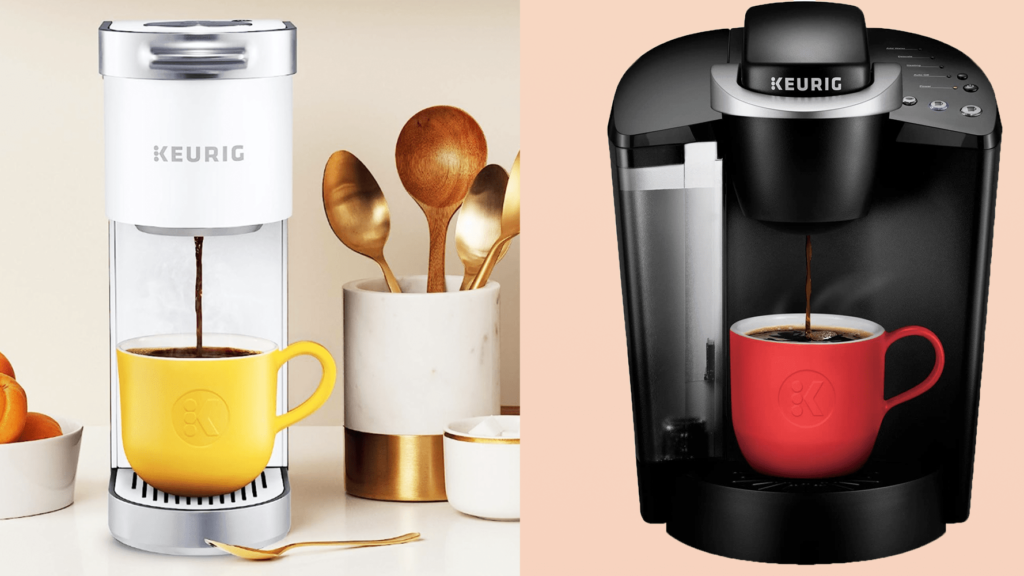
Before diving into cleaning schedules, let’s get familiar with what you’re dealing with. Your Keurig is a sophisticated single-serve coffee maker, and like any appliance that deals with consumables and water, it needs regular maintenance.
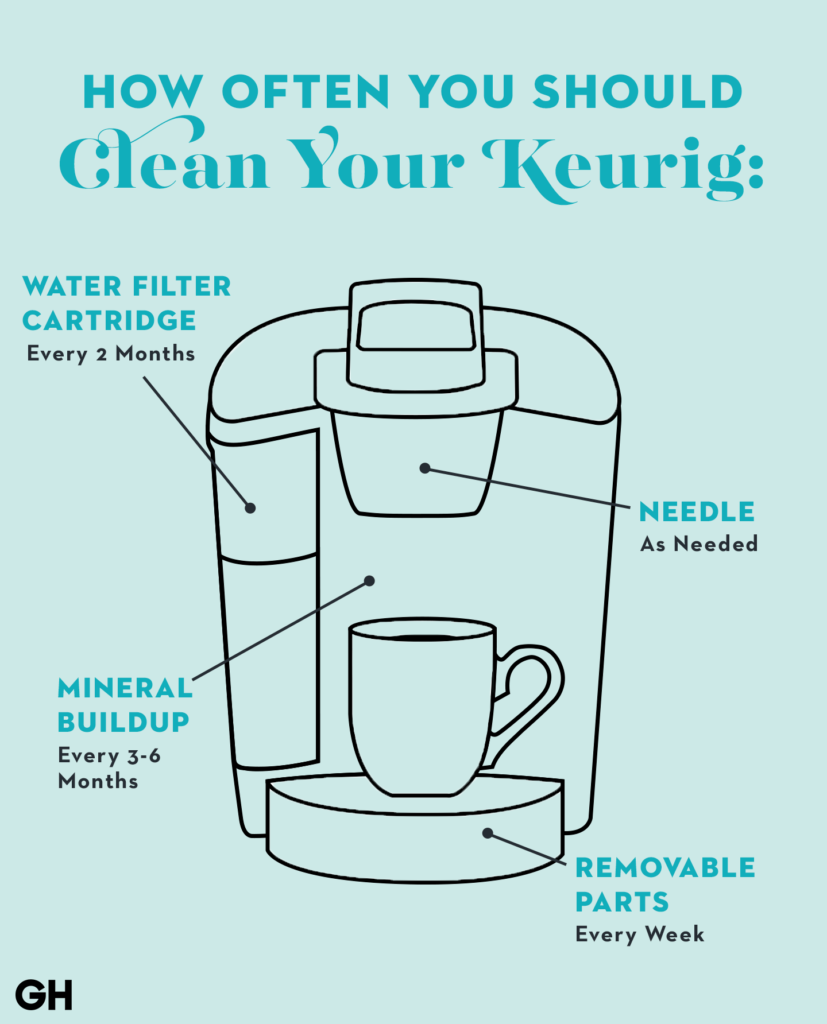
Parts of a Keurig
Your Keurig has several key components that need attention:
- Water Reservoir: This component holds the water that will be heated and used to brew your coffee.
- K-Cup Holder: The compartment where you place your K-Cup pod.
- Drip Tray: Catches any spills or overflow during the brewing process.
- Needles: There are two needles on a Keurig machine, one at the top to puncture the top of the K-Cup, and one at the bottom to puncture the bottom.
- Exterior Surfaces: The outer body of the machine.
Understanding the different parts of your Keurig will help you know where to focus your cleaning efforts.
Why Cleaning Your Keurig is Important
You might wonder why cleaning is such a big deal. It’s a coffee maker, right? However, there are several reasons why regular cleaning is crucial:
- Taste: Mineral buildup and old coffee grounds can affect the taste of your brew.
- Performance: A clean machine operates more efficiently and is less likely to encounter issues.
- Health: Avoiding mold and bacteria buildup.
- Longevity: Proper upkeep can help extend the life of your Keurig.
How Often Should You Clean Your Keurig?
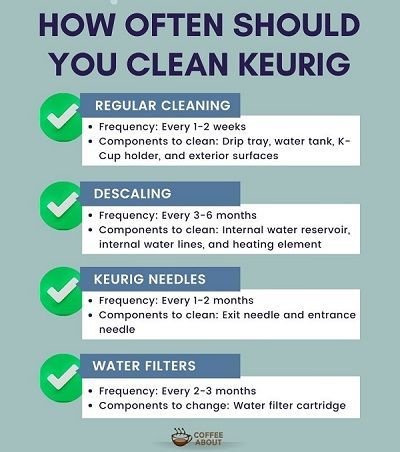
Now to the main question: how often should you clean your Keurig? The answer varies depending on which part of the machine you’re addressing. Below is a comprehensive guide:
| Keurig Component | Cleaning Frequency |
|---|---|
| Water Reservoir | Every week |
| K-Cup Holder | After every use |
| Needles | Once a month or as needed |
| Drip Tray | Every week |
| Exterior Surfaces | Once a week |
| Descaling | Every 3-6 months depending on usage |
Weekly Cleaning Tasks
You have a busy life, but setting aside a few minutes each week for basic cleaning can make a huge difference.
Water Reservoir
At least once a week, empty the water reservoir and wash it with warm, soapy water. Rinse thoroughly before refilling. Mold and bacteria love damp environments, so don’t skip this step.
Drip Tray
The drip tray captures spills and overflow, making it a potential hotspot for mold and bacteria. Remove the drip tray and wash it with warm, soapy water. Dry it completely before replacing it.
Exterior Surfaces
Use a damp cloth to wipe down the exterior surfaces of your Keurig. This keeps the machine looking good and removes any coffee splatters or dust.
After Every Use
The K-Cup holder should be rinsed after each use. This quick rinse helps to remove any coffee grounds and prevents buildup that can affect the taste of future brews.
Monthly Cleaning Tasks
Once a month, spend a little extra time on the needles and descale the machine.
Needles
Both the top and bottom needles on your Keurig can become clogged with coffee grounds. Use a paper clip or the specialized tool that came with your Keurig to gently clear any blockages.
Descaling
Descaling removes mineral deposits that can build up over time. These deposits can affect both the taste of your coffee and the performance of your machine. Keurig recommends descaling every 3-6 months, depending on usage and the hardness of your water.
How to Descale Your Keurig
- Turn off the machine: Unplug it to be safe.
- Empty the water reservoir: Make sure it’s completely empty.
- Prepare a descaling solution: You can buy a Keurig descaling solution or use a mixture of equal parts water and white vinegar.
- Run the machine: Fill the water reservoir with the descaling solution and brew a cup without a K-Cup. Repeat until the reservoir is empty.
- Rinse thoroughly: Refill the reservoir with fresh water and brew multiple times to remove any residual descaling solution.
Troubleshooting Common Problems
Despite regular cleaning, you may encounter some issues with your Keurig. Here are a few common problems and how to address them:
Slow Brewing
If your Keurig is brewing slower than usual, it could be due to a clogged needle or mineral buildup. Make sure to clean the needles and descale the machine.
Inconsistent Cup Sizes
If your Keurig is not brewing the correct amount of coffee, check the water reservoir for proper seating. Also, clean the K-Cup holder and needles.
Leaking
If your machine is leaking, it could be due to an improperly placed or damaged K-Cup. Double-check the placement and condition of your K-Cup. If the problem persists, inspect the gasket and needle for any damage or debris.
Tips for Keeping Your Keurig in Top Shape
Regular cleaning is essential, but there are additional tips to help maintain your machine:
- Use Filtered Water: It helps reduce mineral buildup and can improve the taste of your coffee.
- Empty the Reservoir: If you won’t be using your Keurig for an extended period, empty and dry the water reservoir to prevent mold.
- Store in a Dry Place: Keep your Keurig in a dry, cool area to avoid issues with moisture.
Products to Help You Clean Your Keurig
There are several products available to make cleaning your Keurig easier:
Descaling Solutions
These solutions are specifically designed to remove mineral buildup efficiently. Keurig offers its own branded solution, but there are also many third-party options.
Cleaning Pods
These are essentially like K-Cups but filled with a cleaning agent. They can be an easy way to clean the K-Cup holder and pathways.
Brushes and Tools
Specialized cleaning tools, including brushes and needle cleaning tools, can help you reach and clean those tough spots in your machine.
Step-by-Step Cleaning Guide
For those who like detailed steps, here is a guide to thoroughly clean your Keurig:
Daily Maintenance
- Remove used K-Cup: Dispose of it properly.
- Wipe the K-Cup holder: Use a damp cloth to remove any coffee grounds.
- Empty the drip tray if full.
Weekly Maintenance
-
Water Reservoir:
- Remove it from the machine.
- Wash with warm soapy water.
- Rinse thoroughly and dry completely.
-
Drip Tray:
- Remove it and wash with warm soapy water.
- Rinse and dry completely before replacing.
-
Exterior:
- Wipe down with a damp cloth.
- Dry with a soft towel.
Monthly Maintenance
-
Needle Cleaning:
- Power off and unplug the machine.
- Use a paperclip or cleaning tool to dislodge any coffee grounds from the needles.
-
Descaling:
- Turn off and unplug the machine.
- Empty the water reservoir.
- Fill it with a descaling solution or a mixture of water and white vinegar.
- Run the brew cycle without a K-Cup until the reservoir is empty.
- Rinse the reservoir and run multiple cycles with fresh water to remove any residue.
Commonly Asked Questions
Here are some frequently asked questions to help you better understand how to care for your Keurig.
Can I use vinegar to clean my Keurig?
Yes, white vinegar is an excellent, cost-effective descaling agent. Just be sure to rinse thoroughly after using it to remove any lingering taste.
What should I do if my Keurig stops working?
First, try the troubleshooting tips mentioned earlier. If those don’t resolve the issue, consult the user manual or contact Keurig customer service.
Is it safe to wash Keurig parts in the dishwasher?
Some parts, like the water reservoir and drip tray, may be dishwasher safe. Always refer to your user manual for specific instructions related to your model.
Conclusion
Keeping your Keurig clean doesn’t have to be a daunting task. With a regular cleaning schedule and a few simple steps, your machine will brew delicious coffee and operate efficiently for a long time. Taking a little time out of your week to maintain your Keurig will ensure that every cup of coffee you make is as good as the first one you had. Whether you’re an avid coffee lover or just someone who needs a quick caffeine fix, a clean Keurig makes all the difference!
